How to Use Adobe Firefly AI Assistant to Restyle a Portrait
Sponsored feature: Adobe Firefly AI Assistant
This post covers a paid partnership with Adobe. The carousel source is @dailywebdesign's original Instagram post.

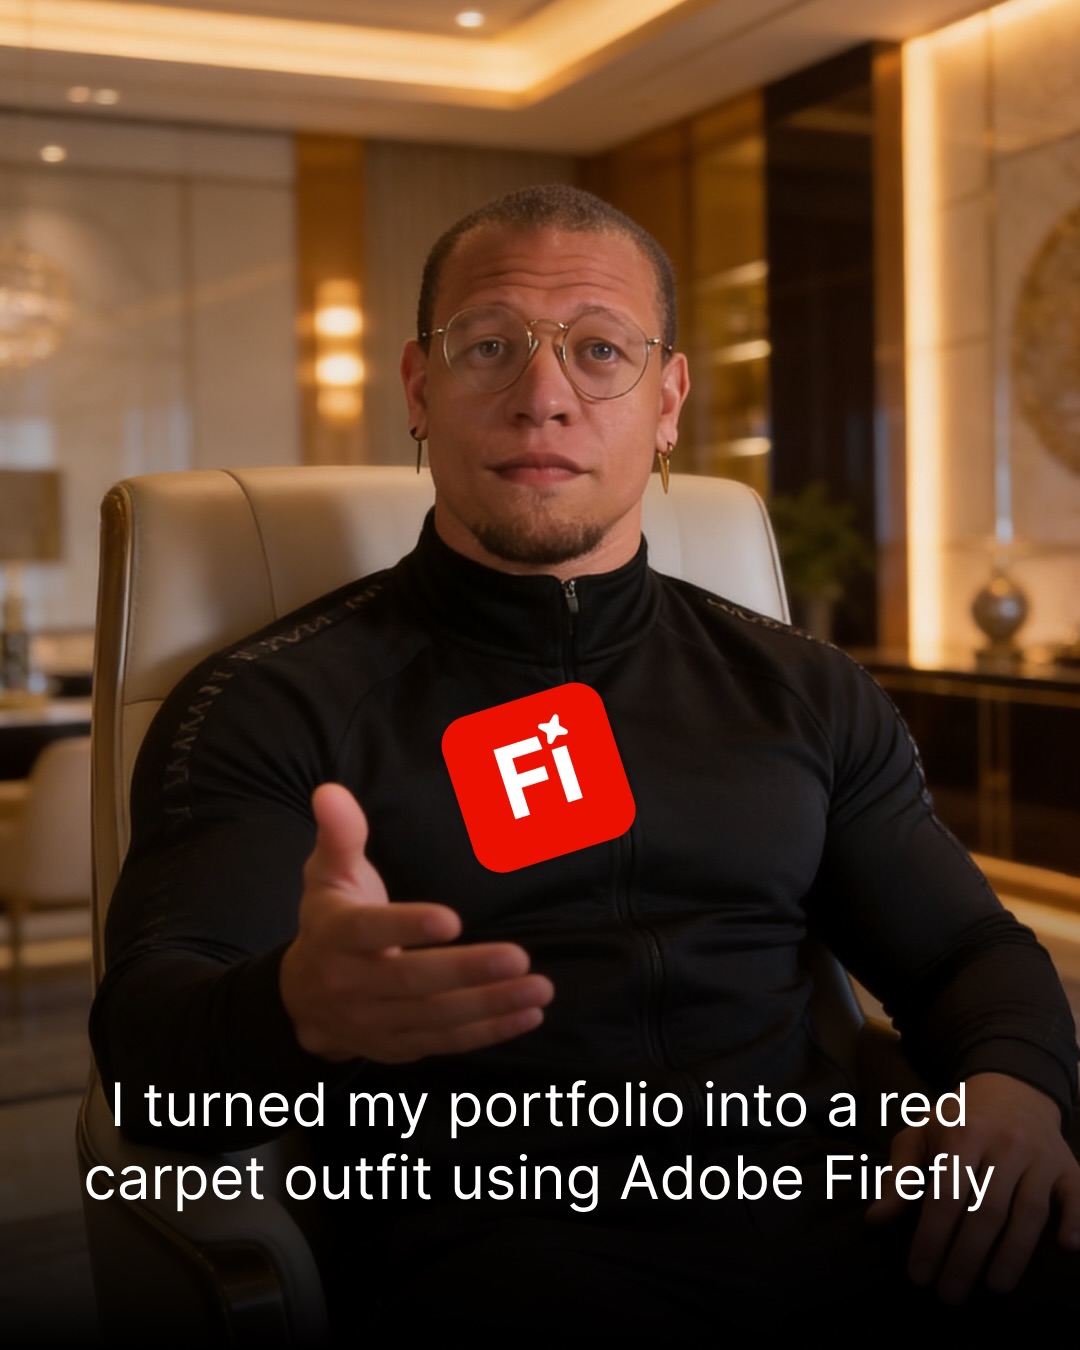
Adobe Firefly's AI Assistant can turn a single portrait into multiple visual directions through a conversational workflow. In the source carousel, the process is simple: open Firefly AI Assistant, upload a photo, describe the change you want, then explore variations such as chrome, clay, retro or surreal treatments. The useful design lesson is not “let AI make the image.” It is to keep the source, prompt and intended art direction connected so the output remains usable.

A practical Firefly AI Assistant workflow
1. Start with a photo you can use
Choose a portrait you own or have permission to edit. Before generating variations, decide where the result will appear: a campaign tile, a portfolio experiment, a character concept or a social graphic. That context changes what “good” means. A dramatic chrome treatment may work as a poster, while a product onboarding illustration may need a gentler surface and more negative space.
For client work, check the image rights and the current terms for the Adobe service you are using. Do not upload confidential or sensitive material unless the organization has approved that workflow. The image source and the generated result have separate rights and review questions.
2. Give one clear instruction at a time
The carousel's example is direct: “Turn this into a chrome-style portrait.” That is a good starting structure because it names the subject and the visual treatment. To get more controlled output, add only a few useful constraints: preserve the face and pose, use reflective silver material, keep the background simple, and leave room above the head for a title.
Avoid stacking unrelated directions into the first request. If you ask for chrome, retro film grain, a clay render and a surreal landscape at once, it becomes hard to tell which instruction shaped the output. Make one direction per variation, compare them, then refine the one that is closest.
3. Compare variations against a design brief

A set of alternatives is valuable when it helps answer a design question. Use a small review checklist:
- Does the treatment support the message, or distract from it?
- Is the face still recognizable enough for the intended use?
- Does the background leave a clear area for copy or a call to action?
- Do colors and highlights fit the brand palette?
- Will the image crop cleanly at the actual placements?
Put the options side by side at the same size. Do not choose only by novelty. If the image is for a small mobile card, zoom out to card size. A detailed texture that looks impressive full-screen may become visual noise when reduced.
4. Refine the chosen direction
Once one version has the right composition, make the next prompt about a single correction. Examples: soften the specular highlights, reduce the texture on the skin, make the background warmer, or add more negative space on the left. Small, targeted edits help preserve the elements that already work.
If the result drifts away from the original subject, return to the source photo and restate what must remain fixed. Treat generation as an iterative art-direction conversation, not a one-shot command. Keep a copy of the original and save the prompt that produced the approved direction so the team can reproduce or revisit the decision.
5. Check the final asset before publishing

Before export, inspect the image at full size and at the final display size. Look for distorted details, inconsistent lighting, unwanted text, artifacts around hair or clothing, and awkward crops. Confirm the output dimensions, compression and color profile fit the destination. For brand work, compare the image with the project's approved palette and typography rather than judging it in isolation.
AI image generation can speed up exploration, but it does not replace rights review, accessibility checks or human art direction. Add meaningful alt text when the image communicates information. If it is decorative, keep the alternative text brief and avoid describing details that do not matter to the page.
When this approach is useful
A one-photo, many-directions workflow is useful when a team needs to explore a visual concept quickly, such as a campaign portrait, a moodboard, a social post or a pitch-deck image. It is less suitable when the exact likeness, product detail or legal provenance must be guaranteed without human review. A designer should decide the boundaries before generation: what may change, what must stay recognizable, and what will be checked before the asset goes live.
The best result is often not the most elaborate effect. It is the version that supports the layout and message with the least extra explanation. Use Firefly AI Assistant to make a few focused options, then use your own judgment to select and finish the one that earns its place in the design.
Artist and source credit: This workflow was shared by @AdobeFirefly in a paid partnership with @dailywebdesign. See the original Instagram carousel for the source slides. Confirm current feature availability and terms on Adobe Firefly.
Related on NewForm
Keep reading
Find Your Stack
Discover the perfect design tools for your workflow.
Take the 60-second quizNewForm Studio
Turn your designs into professional mockups instantly.
Open StudioMore from NewForm
Best AI App Builders for Designers in 2026: What to Choose for Real UI Work
Compare Base44, Lovable, Bolt, v0, Replit and Framer for design fidelity, control, real app behavior and pricing. A transparent evaluation guide for designers.
9 min read · Oct 30, 2026
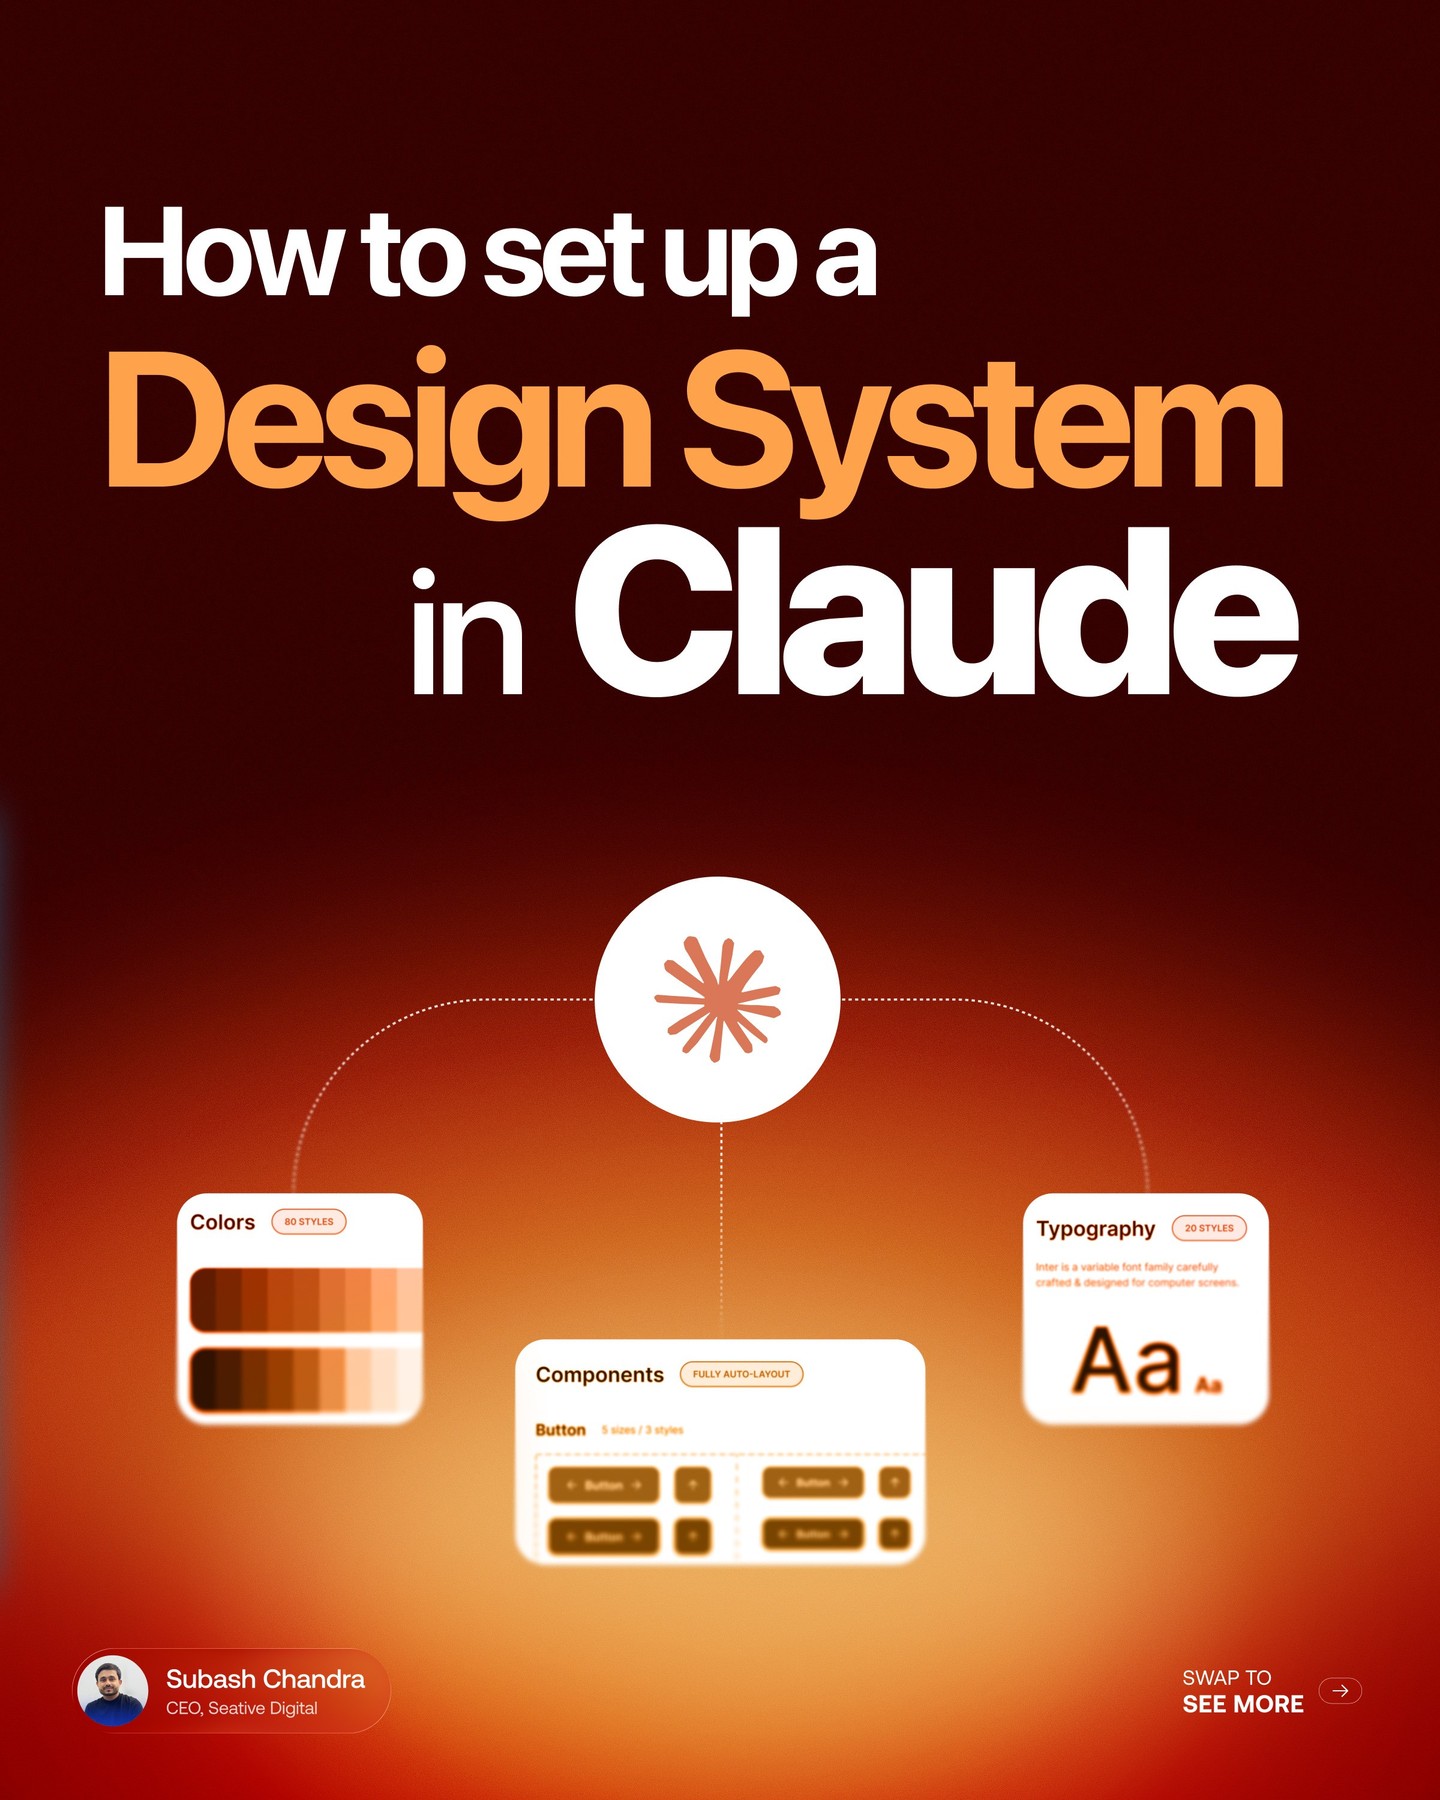
How to Build a Design System in Claude Design: 7 Steps
Build a practical design system in Claude Design by organizing references, generating tokens and components, testing real screens, and reviewing before publishing.
7 min read · Oct 29, 2026