
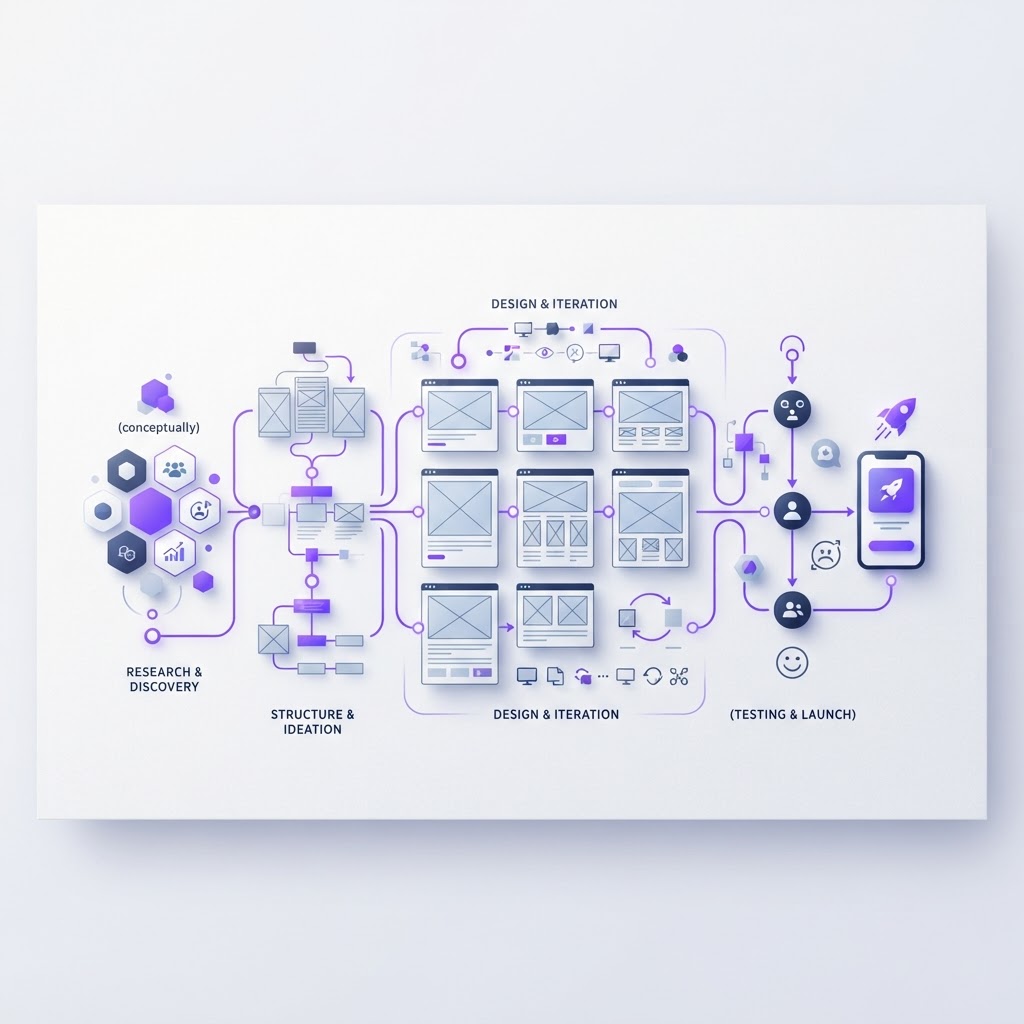
How Senior Designers Start Every Project (And Why It Works)
Originally shared as a carousel on @dailywebdesign, original carousel by @animaagrawal.design. Expanded with additional frameworks and context.


There's a gap between how junior designers start projects and how senior designers start projects. It's not about skill level with tools. It's about what happens in the first few hours before a single pixel gets placed.
Senior designers have been burned enough times to know that ambiguity at the start compounds into disaster at the end. Here's how they handle the opening of any project.
Step 1: Refuse to open Figma first
Before opening Figma or any design tool, they spend time clarifying:
- What problem are we actually solving?
- Who is the user, and what do they need to accomplish?
- What does success look like, and how will we measure it?
- What constraints exist (tech, timeline, budget, brand)?
Five questions asked upfront can save 20 hours of rework later.
Step 2: Write a problem statement before designing a solution
A good problem statement:
"[User type] struggles to [do X] when [situation], which results in [consequence]. A better solution would [outcome]."
This forces clarity about who you're designing for. Sharing it with stakeholders before presenting designs prevents the "I thought we were building something else" conversation at review.
Step 3: Research before concepting
Even a lightweight research sprint adds massive value:
- 5 user interviews, talk to real people who have the problem
- Competitor audit, 30 minutes in 3-5 competing products
- Heuristic review, walk through existing product using Nielsen's 10 usability heuristics
- Analytics review, look at where users drop off, which features go unused
Step 4: Define the scope ruthlessly
In scope: Specific screens, flows, and features being designed Out of scope: What is NOT being tackled in this sprint Parking lot: Good ideas that won't be addressed now
When a stakeholder asks "could you also add. .?" mid-project, a written scope document gives you something to point to.
Step 5: Align on success metrics before starting
Good success metrics are specific and measurable:
- "Increase checkout completion rate from 62% to 75%"
- "Reduce time-to-first-action from 4 minutes to under 90 seconds"
- "Decrease support tickets about [feature X] by 40%"
Vague goals like "improve the user experience" can't be measured, which means you can never prove the design succeeded.
Step 6: Create a project structure before designing
A well-organized Figma file has:
- A cover page with project name, status, last updated date, and owner
- A changelog page tracking major design decisions
- Pages organized by phase: Research → Explorations → Refinements → Final → Handoff
- Named frames that match the flows, not generic "Frame 1"
The underlying principle: clarity before creativity
Everything senior designers do at the start of a project is about reducing ambiguity. Get the brief right. Understand the user. Define success. Scope the work. Then open Figma.
Want to build faster once you're in the design phase? Base44 can generate full app interfaces from a prompt, great for rapid prototyping once you've nailed the problem statement. And use NewForm Studio to present your work with professional mockups.
View the full carousel on Instagram →
Credit: Original carousel by @animaagrawal.design, follow them for more design process and career content.
Find Your Stack
Discover the perfect design tools for your workflow.
Take the 60-second quizNewForm Studio
Turn your designs into professional mockups instantly.
Open StudioMore from NewForm

Train Your Eye for Better Design: How to Develop Visual Design Skills
Great design starts with a trained eye. Here is how to develop the visual instincts that separate good designers from great ones, with practical exercises you can start today.
6 min read · Sep 30, 2026

Progressive Layer Blur in Figma: A Step-by-Step Glass Effect Tutorial
Master the progressive layer blur effect in Figma to create depth, glassmorphism, and visual hierarchy. A practical step-by-step tutorial from a real carousel breakdown.
6 min read · Sep 29, 2026